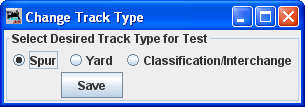
A Spur Track is used to service an industry or just a place where a Car is loaded or unloaded. Spurs are very similar to Yards. You can if you wish schedule the order that Cars will be delivered to a Spur, or demand Cars with certain Loads using Schedules.
For a Train to service a Location, there must be at least one Track for that Location.
When a Car is placed at a Spur, the Car's Load status is modified. OperationsPro provides two Load names for all Cars: the default Empty (or E) and the default Load (or L). If a Car has one of these Loads when it arrives at a Spur, the Load will change to the other, i.e. E becomes L and L becomes E.
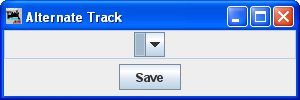
To add a Track as a Spur, in the Add/Edit
Locations window select Tracks at this location Spurs, then
press at the bottom of the window.
This opens the Add Spur Track window. Note most of the pane is greyed out
until the new Spur Track is added to the database.

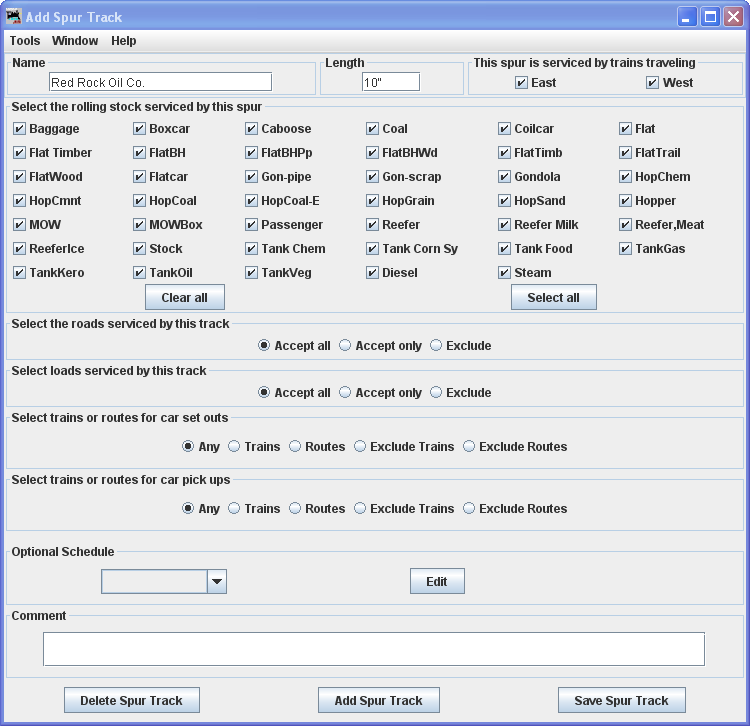
Enter the Name of the Spur Track. The Spur Name must be unique; the program will not allow two Spurs at one Location with identical names. However, if you want more than one Spur to have the same name on your Manifests and Switch Lists, add a hyphen and a number to the end of the Spur name. For example, "KingMine-1" and "KingMine-2" will both print as "KingMine". The program will remove the hyphen and number when printing Manifests and Switch Lists.
Under This location is serviced by trains traveling, select at least one or any number of the directions depending on access to your Spur. We have selected East and West
You can decide which train direction the Spur can service. For example, if only south bound Trains can access the Spur, select "South" and deselect the other directions. This can be useful if you want to support only trailing point switching for a given Track. If a Spur Track can support multiple directions then select the ones that are appropriate. When the Location has certain directions disabled, those are greyed out and you can't use them for one of the Tracks.
Local Switcher: If you want only a local switcher to service a Spur Track, deselect all of the direction boxes for that Spur Track. The program will only allow a Train that has one location in its Route (local switcher) to service the Spur. This would be useful if you wanted your Trains to pick up and drop Cars to a Yard, and then have a local switcher move them to the town's Spur Tracks.
Next Select the rolling stock serviced by this spur to control the rolling stock a Spur can service. Note the handy and buttons. Push to deselect all Car types, or to select all types, then select or deselect rolling stock types you wish the Spur to accept.
|
|
In Name enter the name of a new Spur Track to be serviced at this Location. Length of the siding track in scale feet. You may enter the measurement in actual inches as and the program will convert to the scale feet that you select during setup. Press , the siding track is added and the greyed out features are activated. |
The Add Spur Track window now displays with all options active to let you detail the spur.
Only the items selected in the Location of this Spur will be displayed. The program uses those that are checked. The button unchecks all rolling stock. Now you may select any you require or press the button to check all rolling stock types.
We are setting up a spur for an Oil Co. so we will clear all and then select Tank for oil, kerosene and gas.
Accept all
Default: accepts rolling stock from any railroad.Accept only
Allows you to list the railroads whose rolling stock you will accept.
Select Road you want to add from drop-down List the press repeat for each Road you would like to service this Spur. To remove Road form the Spur select from the drop-down list then press .
Exclude
Similar to Accept only but creates a list of Roads that you do no want to service this location.
Accept all
Default accepts any loadAccept only
Allows you to list the loads that this location will accept.
Select type of load from first drop-down list (Based on the type of rolling stock accepted). From second drop-down list select either Empty or Load, then press to list of acceptable loads. Repeat as necessary. Select a load then press to remove that load. You may remove all loads by pressing the button.
Exclude
Similar to Accept only but creates a list of acceptable Loads that can be serviced by this Location.
Select trains or routes for car set outs
Any
Default: cars may be set out by any Train or Route

Trains
Select Train from the drop-down List then press to add Trains that may set out Cars at this Location. To remove a Train from the list press .Routes
Similar to Trains except you select a Route to add or remove to determine routes that may set out cars at this location.

Exclude Trains

Exclude Routes

This option is almost identical to Car set outs except now Car pick up options are selected.
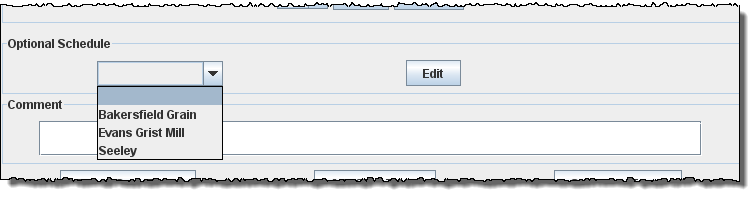
Optionally, a schedule may be selected from the drop-down list. Press to open Add Schedule for Spur Tank Facility. More detail on the Schedule page.
You may now press to add to the location or press if you do not want to store the Track.
If you want to add another Spur Track to this Location, enter new data and press to add the Track.
Close the window when done with this Spur Track.
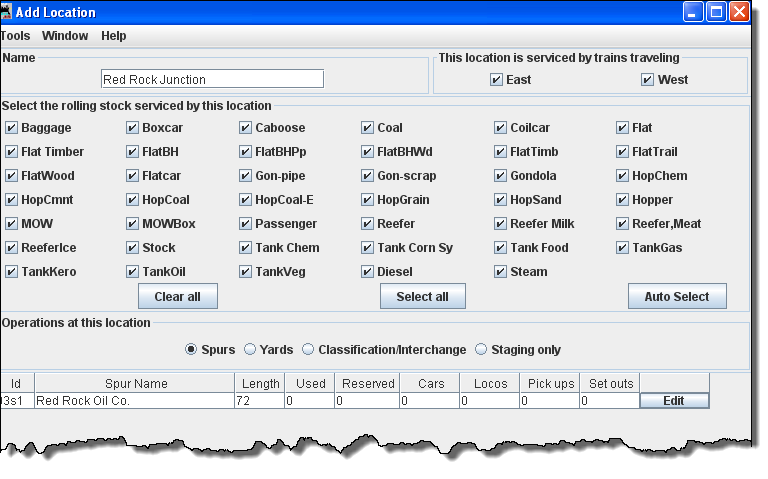
The Add Location window shows one siding track at the Tank Facility in Red Rock Oil.
If you want to change information for any Track entry, press in the Tracks table on the Location pane to open the Edit Spur Track window.
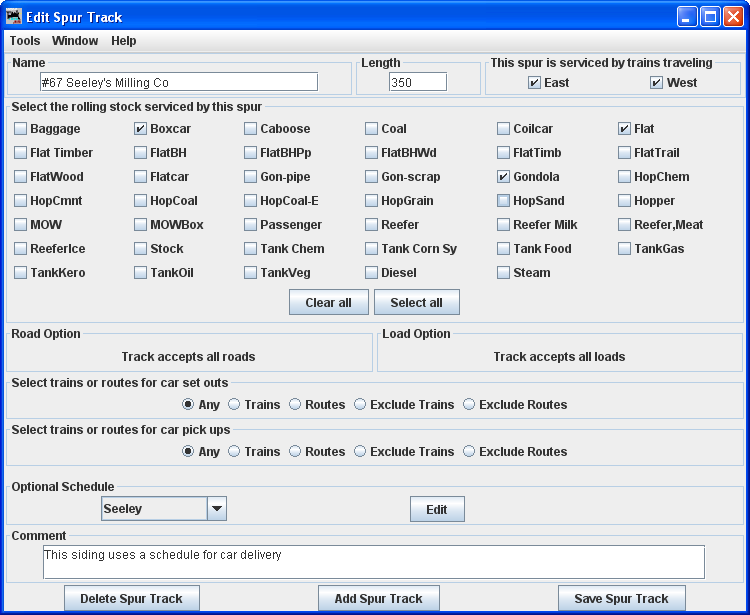
Note that it is identical to the Add Spur Track pane except for the title. Change any of the entries that you want to edit and then press the to save the changes. You may also from your database.
Note we changed the Length of the Spur Track to 200 scale feet.
When done with editing close the window.
The Locations window shows all the Locations in your OperationsPro database, displaying the Track Types and total Track Length for each.
You may add as many Locations and Tracks as needed to complete the description of your layout.
Spurs may be combined and their lengths combined.