- Installing JMRI®
- Getting Started
- Using DecoderPro3®
- DecoderPro3® Programming Modes
- The Basic Programmer
- The Comprehensive Programmer
- Function Labels and Roster Media
- DecoderPro3® Main Window
- Error Messages
DecoderPro® Main Window
LocoNet Menu
Monitor LocoNet
Opens the Monitor LocoNet Window(Gerneric Communications Monitor Window) and automatically displays the information that is being sent and received on the communications link between your computer and your DCC system.
Opens the Monitor Slots window, and displays a table of the "command station slots" contents.
A Digitrax LocoNet can contain it's own fast clock timebase. This can be driven either by a DCS100/DCS200 command station, or by a separate fast clock module such as those made by Logic Rail Technologies. The Monitor Clock dialog allows you to control this feature.
Monitor LocoNet Stats
If active displays the statistics related to traffic on the LocoNet Monitor LocoNet Stats Window.
![]()
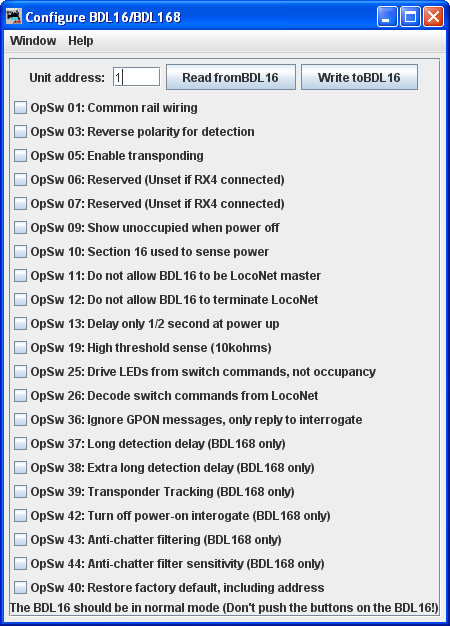
Opens Configure BDL 16/BDL168 window
Configure LocoIO
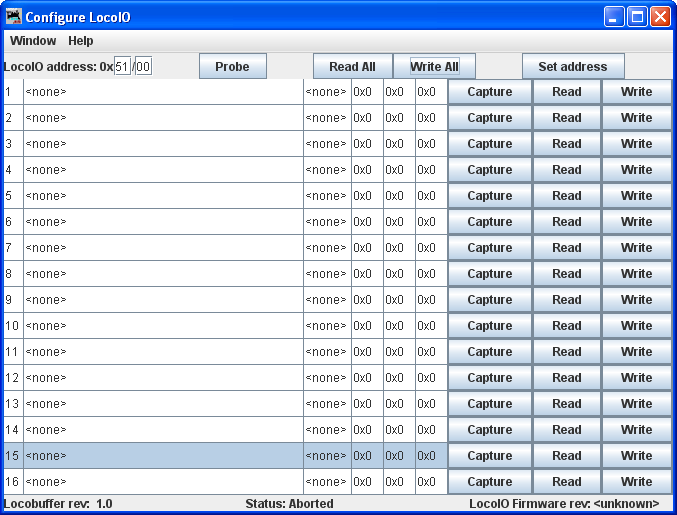
Opens the Configure LocoIO window.
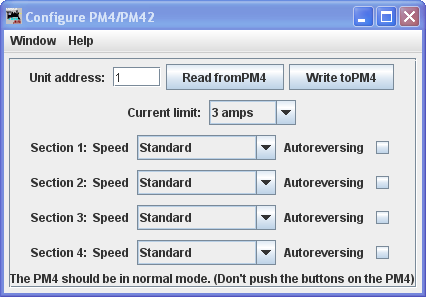
Opens the Configure PM4/PM42 window.
Opens the Configure SE3C window.
Opens the Configure DS64 window.
Opens the Configure Command Station window
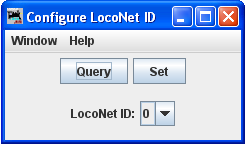
Configure LocoNet ID
Opens the Configure LocoNet ID dialog that allows you to or the LocoNet ID Value:
![]()
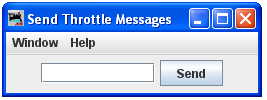
Send Throttle Messages
Opens Throttle message prompt with limited capabiltiy to send messages to handheld throttle.
![]()
Opens the Send LocoNet Packet dialog that lets you directly command LocoNet devices.
Select PR3 Mode
Opens the Select PR3 Mode dialog.

![]()
Opens the Firmware Downloader.
Opens the Decoder Sound Downloader.
Edit SPJ Sound File
Opens Sound File editing tool

Start LocoNet Server
Starts the LocoNet server.
Start LocoNet over TCP Server
Opens the LocoNetOver Tcp Server dialog.

.
Monitor Slot Window
Slots are used to control individual locomotive and consists. The display includes the decoder's speed step format, current speed and function settings, consist information and status. You may choose to show all slots or just the ones being actively used.
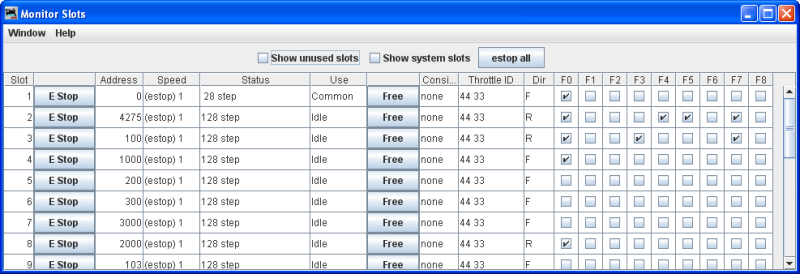
The checkboxes at the top allow to select what slots are displayed.
Show unused slots
Show system slots
Executes an Emergency Stop for all locomotives.
The columns are:
| Column | Displays | |
| Slot | The number of the slot | |
| Address | Locomotive address the slot controls | |
| Speed | For unconsisted locomotives and addresses that are at the top of a consist, this is the current speed setting. It is an internal value for consisted slots. | |
| Decoder Type | The format of the commands being sent to the decoder, typically, either 128 step or 28 step, though other values are possible. | |
| Status | One of the four possible states: | |
| Free | Not reserved for any particular use, no contents | |
| Idle | Not reserved for any particular use, no contents | |
| Common | Not in use at the moment, but still contains valid data for the last decoder to use it. | |
| In Use | Currently controlling a decoder | |
| Consisted | Displays the consist status of the slot, whether it is not consisted, the top of a consist, included in a consist, etc. | |
| Throttle ID | The UT4 throttles have a fixed throttle ID. The DT400 has a fixed common leading HEX value and a user programmable second HEX value. . It is displayed as two hexadecimal bytes, see the Digitrax instructions for details. | |
| Direction | Whether the decoder is currently being commanded to go Forward or Reverse. | |
| F0-F8 | The current function settings | |
Monitor Clock
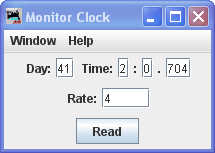
The Clock Monitor tool provides a convenient way to:
- the current contents of the LocoNet fast clock
- Set the Day and Time
- Set the Rate. Note that you can't explicitly pause a LocoNet clock, but you can stop it by setting the rate to zero.
If you are using a DCS100 or DCS200 command station to create your LocoNet fast clock, you may have noticed that it doesn't keep particularly good time. If you select the "Correct LocoNet Fast Clock Master", JMRI will adjust the rate of the LocoNet clock so that it keeps better time.
Configure BDL16/BDL168 window
Configure LocoIO window
Configure PM4/PM42 Window
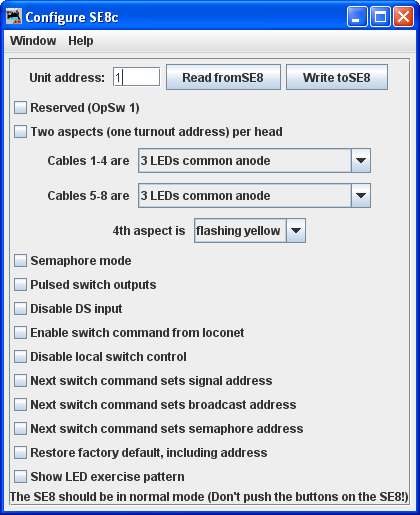
Configure SE8c Window
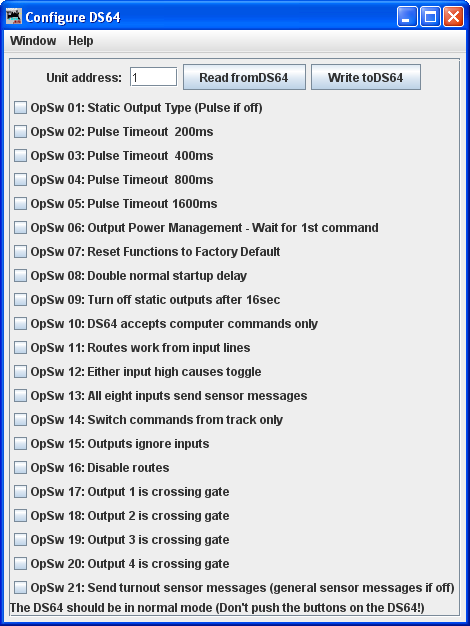
Configure DS64 Window
The DS64 programming tool lets you configure the internal options of a DS64 directly from your computer.
Type the address of a DS64 board in the text field and click . The tool will read back the current state of the various options, and set the check boxes to correspond to their current values.
You can then, if you wish, change the checkboxes and click to make your changes permanent.
Limitations
Because of the way the DS64 board works, this tool can't change the basic address of the unit.At present, DS64 routes cannot be programmed by this tool. It's possible, but nobody has written the code for it yet because JMRI routes are more powerful and easier to use.
Send LocoNet Packet dialog
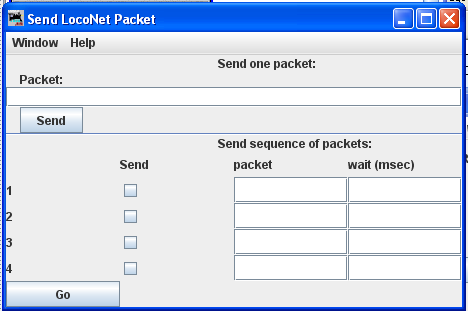
LocoNet packets are sent in raw hexadecimal format, you may use the Monitor Window in the Show Raw Data option to monitor the packets.
The top section lets you send a single LocoNet packet. Type the hexidecimal numbers and click , you should include the byte for the checksum at the end of the message.
The bottom section lets you enter from one to four packets that will be repeatedly sent in sequence, with the user-defined delays in between. Press the to start transmission sequence, and press again to stop the sequence.
Firmware Downloader
Some Digitrax products can have new firmware downloaded to them.The firmware updates are distributed as .dml (Digitrax Mangled Firmware) files. They contain both the code itself, and various management information to make sure that it can be downloaded into the hardware it expects.
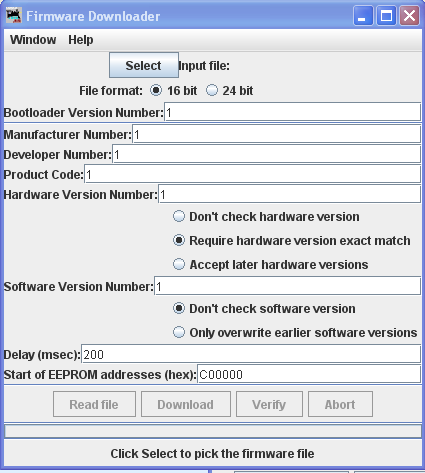
To use this tool:
- Click and select the
.dmf file you want to download.
- Click to read the file into the program and verify its contents.
- Only if instructed to by Digitrax, change the various values in the control fields (this is usually not needed
- Click to load the firmware. This will take a little while.
Download Sounds
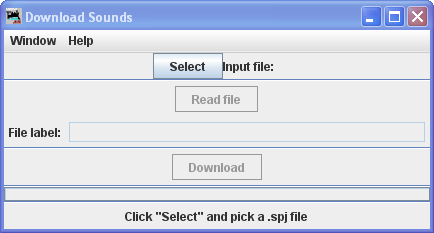
Digitrax sound decoders are loaded with "sound projects", stored in "Sound Project" (.spj) files. Those contain a number of "sound fragments" in .wav format, plus some additional control information.
The Decoder Sound Downloader tool lets you load a new .spj file into a Digitrax sound decoder via a Digitrax PR2 or PR3 interface. If you're using a PR3, it needs to be put into "Programmer mode" before trying to download, see the main PR3 page.
Digitrax provides sample sound project files at their Sound Depot (http://www.digitrax.com/sounddepot.php) web site. You can also find links to documentation and additional tools there.
JMRI also provides tools for editing sound project
files to include new sounds and even to change the sound logic.
When you first select the Download Sounds tool, it opens a dialog with most of the controls
disabled:
(Click on any image on this page to see a larger version)
The status line at the bottom will walk you through the steps needed.
- First, click "Select" and pick the .spj file you want to download.
- Next, click "Read" to read the file (this is a separate step so you can just click
"Read" multiple times if you're editing and saving new versions of the file).
If everything is OK, the file will be read into the program and verified, a version string from the file will be displayed, and the "Download" button will be enabled.
- Click "Download" to start the download process. It will take a little while. The
progress is described in the status line:
- "Starting download; erase flash"
- The first step is to erase the decoders memory so it can take new data. This will take up to about 30 seconds, depending on the specific decoder.
- "Sending initialization message"
- Set up the decoder to accept data after being erased. This should only take a fraction of a second.
- "Send SDF data"
- Load the Sound Definition data into the decoder, which should only take a few seconds
- "Send WAV data"
- The sound data is being downloaded. As each block is sent you'll get an update: "Send WAV data block 1", then 2, then 3, etc.
- "Done"
- The downloadload completed OK.