The Edit Train window is opened from the found in each train in the Train window, only the Title bar is different.

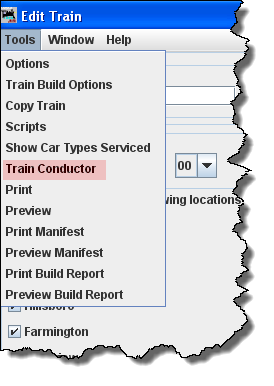
From the Tool Menu, the Train Conductor may be opened. It
can also be opened by Right Click on the train icon and select
Conductor.
|

|
You may now aquire a manifest for a train in the Conductor window which will update as the train moves. The window includes a check list for the work needed at each location.
The Add Train window is opened from the on the Trains window.
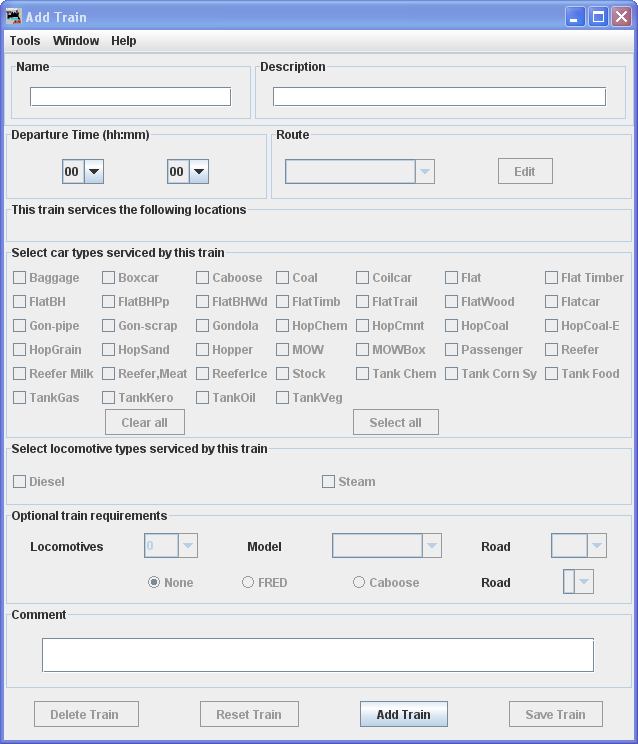
Name Description
Type in train name and optional description, then press .
Both will show up on the train's manifest. The train's name will also show up on the train icon, so short names work best.
Now all the options are activated and you can complete the train.
|
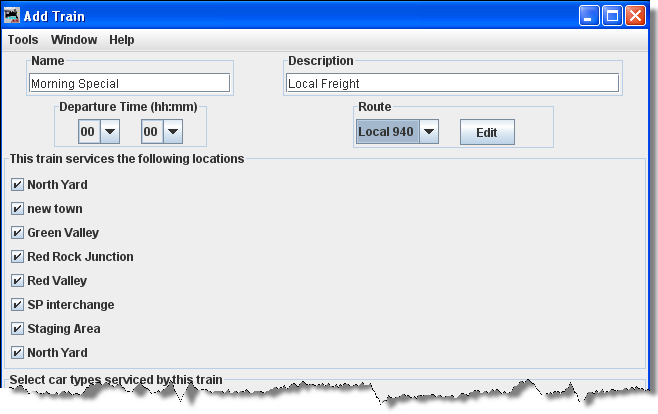
Select Route route that this train will travel. The to the right of the route allows you to directly editthe selected route. Once a route is selected a list of locations that the train will visit should appear. You can deselect any location that you don't want the train to work. |
|
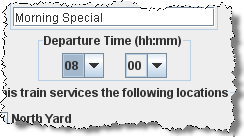
Set the Departure Time(hh:mm) , the time that this train will depart the first location in its route. You can use the departure time to sort your trains in the order that you want them built . |
|
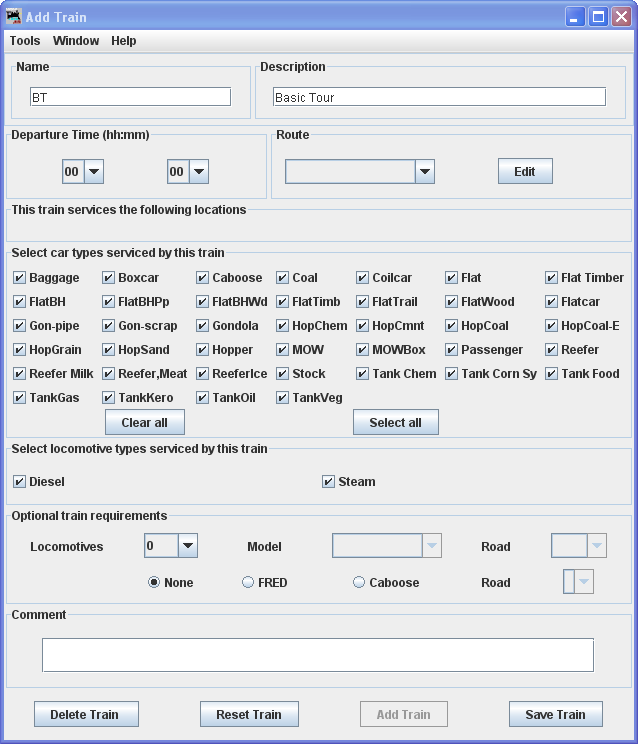
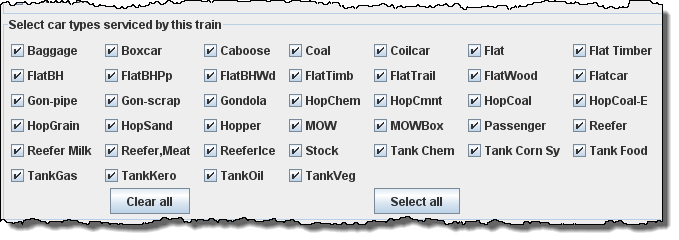
You can determine what type of rolling stock the train will service. Select the Rolling stock the train will carry by clicking on the appropriate check boxes. A checked box means the train will service this type of rolling stock. |

|
Select locomotive types serviced by this train by checking all required engine types. |

|
you can control the number of locomotives that will be assigned to this train, and optionally, the engine's model and road name. If you want two or more engines assigned to a train, the engines must be part of a consist. If you select "Auto", the program will calculate the number of engines required for this train based on the weight of the train, the track grade, and the horsepower of the engines. You can also require a caboose or car with FRED (Flashing Rear End Device) as the last car in the train, and you can optionally specify the road name for the caboose or car with FRED. If you leave the road name blank, the program will try and find a caboose with the same road name as the engine. |

|
allows you to remove locomotives and cars that have been assigned to a train. Useful when you want to try various build options and don't what to physically move locomotive and cars on the railroad.
Press to save your train. The program will create a file (OperationsTrainRoster.xml) in your JMRI directory in a folder called "operations". A backup file with the last settings for all of your trains is also created each time the is pressed.
Note that the train is now shown in theTrains window.